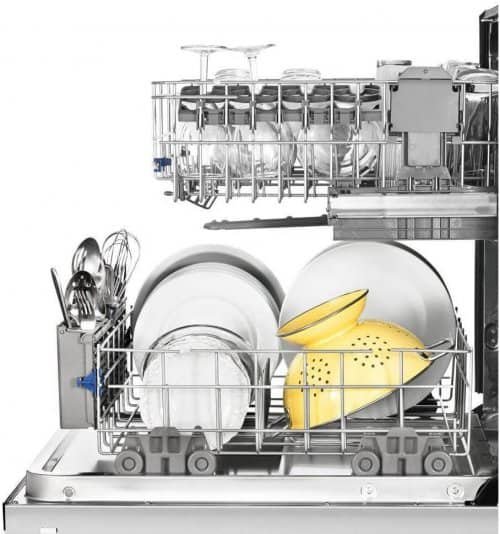
A dishwasher is an essential appliance in any modern kitchen, and it saves you the time and energy needed to clean dishes manually. Whirlpool dishwashers are reliable and efficient, but sometimes they may experience drainage issues. A clogged dishwasher can cause flooding, bad smells, and can even damage your flooring and cabinetry.
In this guide, we will cover the steps needed to drain a Whirlpool dishwasher properly, as well as the common reasons why your dishwasher may not be draining correctly.
Table of Contents
Part 1: Common Reasons Why a Whirlpool Dishwasher May Not Be Draining
Before you attempt to drain your dishwasher, it’s important to understand the potential reasons why your dishwasher may not be draining correctly. Some common causes include:

- Clogged Drain Hose
The drain hose is responsible for carrying the water from the dishwasher to the sink drain. Over time, food particles, soap scum, and other debris can accumulate in the hose, leading to a clog.
- Clogged Air Gap
An air gap is a small device that sits on the sink’s rim and is responsible for preventing backflow of dirty water into the dishwasher. Over time, debris can accumulate in the air gap, leading to a clog.
- Faulty Check Valve
The check valve is a small device that prevents dirty water from flowing back into the dishwasher. If it becomes faulty, it can lead to drainage issues.
- Broken Drain Pump
The drain pump is responsible for pumping water out of the dishwasher and into the drain. If it becomes broken or faulty, it can lead to drainage issues.
Part 2: Steps to Drain a Whirlpool Dishwasher
If you’ve identified that your Whirlpool dishwasher is not draining correctly, it’s time to take action. Here are the steps needed to drain a Whirlpool dishwasher properly:
Step 1: Turn off the power supply
Before you begin any work on your dishwasher, make sure to turn off the power supply. This can be done by unplugging the dishwasher or by switching off the circuit breaker that powers the dishwasher.
Step 2: Remove the lower rack
The lower rack is where the dishes sit in the dishwasher. Remove the rack to gain access to the dishwasher’s interior.
Step 3: Clean the drain filter
The drain filter is responsible for trapping large food particles and debris. Over time, the filter can become clogged, leading to drainage issues. To clean the filter, remove it from the dishwasher and rinse it under hot running water.
Step 4: Check the drain hose and air gap
The drain hose and air gap are responsible for carrying water from the dishwasher to the sink drain. Check both of these components for any signs of blockages or clogs. If you find a clog, use a pipe cleaner or a toothbrush to remove the debris.
Step 5: Check the check valve
The check valve is responsible for preventing dirty water from flowing back into the dishwasher. Check the valve for any signs of damage or wear and tear. If it’s faulty, you’ll need to replace it.
Step 6: Check the drain pump
The drain pump is responsible for pumping water out of the dishwasher and into the drain. Check the pump for any signs of damage or wear and tear. If it’s faulty, you’ll need to replace it.
Step 7: Reassemble the dishwasher
Once you’ve completed all the necessary repairs, reassemble the dishwasher and turn on the power supply. Run a test cycle to ensure that the dishwasher is draining correctly.
Part 3: Frequently Asked Questions
- What should I do if my dishwasher is still not draining after I’ve tried all the steps in this guide?
If your dishwasher is still not draining after you’ve tried all the steps in this guide, it’s best to call a professional repair service. They can diagnose the problem and offer solutions that may require specialized equipment and expertise.
- How often should I clean my dishwasher?
It’s a good idea to clean your dishwasher at least once a month. This helps to prevent the build-up of debris, food particles, and soap scum that can lead to clogs and drainage issues.
- How do I prevent clogs from forming in the drain hose and air gap?
To prevent clogs from forming in the drain hose and air gap, it’s essential to clean them regularly. Use a pipe cleaner or a toothbrush to remove any debris that has accumulated in these areas. You can also run hot water through the drain hose to help dissolve any clogs that may be forming.
- Can I use drain cleaners to unclog my dishwasher?
It’s not recommended to use drain cleaners to unclog your dishwasher. These products can damage the dishwasher’s interior and may not be effective in clearing clogs. Instead, use a pipe cleaner or a toothbrush to remove any debris that has accumulated in the drain hose, air gap, or check valve.
- How do I know if my dishwasher’s drain pump is faulty?
If your dishwasher is not draining correctly, the drain pump may be faulty. You can test the pump by running a diagnostic cycle on your dishwasher. If the pump is not working correctly, you’ll need to replace it.
Conclusion
A Whirlpool dishwasher is a reliable and efficient appliance, but like any other appliance, it may experience drainage issues from time to time. A clogged dishwasher can cause flooding, bad smells, and can even damage your flooring and cabinetry. In this guide, we’ve covered the common reasons why a Whirlpool dishwasher may not be draining correctly and provided steps on how to drain a Whirlpool dishwasher properly. By following these steps and cleaning your dishwasher regularly, you can prevent clogs from forming and keep your dishwasher in good working condition.

